A blank wall can make even a well-furnished room feel unfinished. Slatted wall systems change that quickly, adding warmth, depth and a tailored look without the disruption of building a traditional timber feature wall. Used behind a TV, around a bed or along a hallway, they create a strong focal point while keeping the project manageable for confident DIYers.
The best result is not simply about choosing a popular wood-effect finish. It comes from selecting the right panel style, planning the layout before opening the adhesive, and finishing the edges with care. Get those details right and a once-plain room can feel considered, modern and far more expensive than the work involved.
Why slatted wall systems work so well
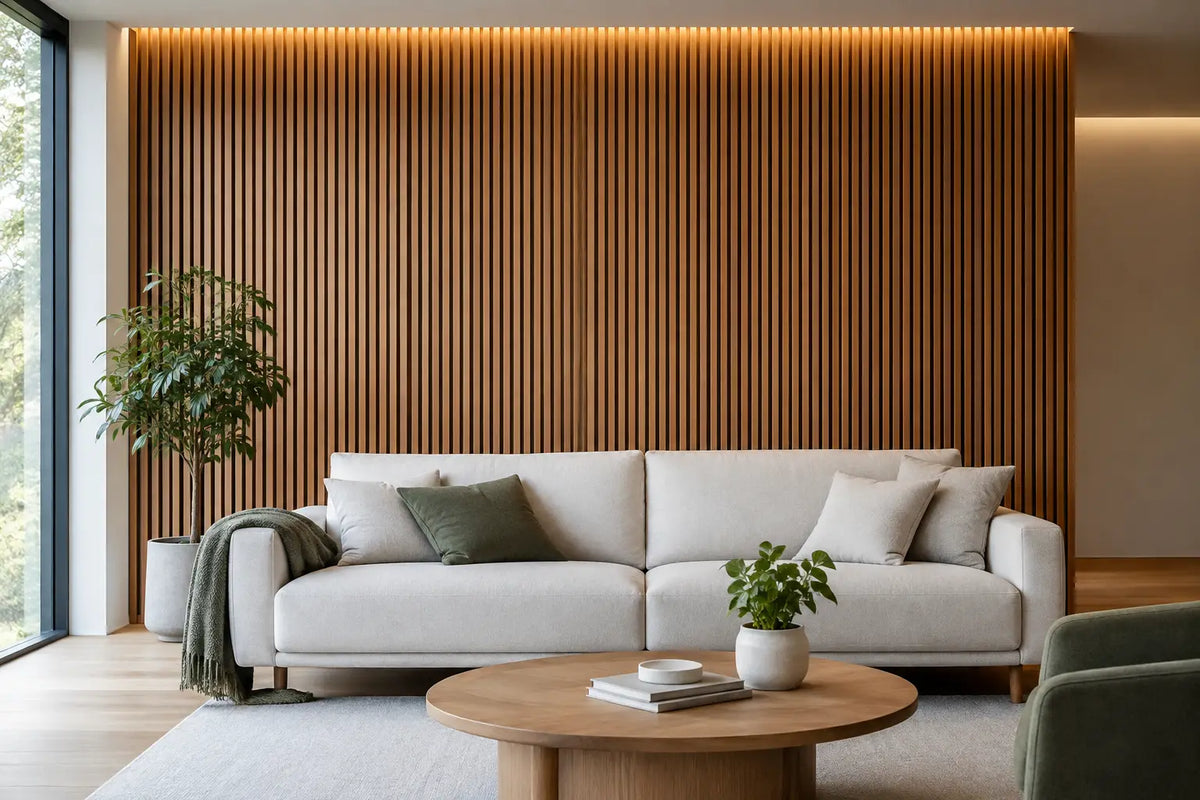
Slatted panels have a visual rhythm that paint and wallpaper cannot quite replicate. The repeated vertical lines draw the eye upwards, which can make lower ceilings feel taller and narrow spaces feel more purposeful. Their textured surface also catches natural and artificial light differently throughout the day, giving the wall more character than a flat finish.
For living rooms, a slatted feature wall gives a media-wall area a clean backdrop without committing to a full built-in unit. In bedrooms, panels behind the bed can replace a conventional headboard or frame one beautifully. Hallways and dining areas benefit too, particularly where a little warmth is needed but bulky furniture would make the space feel smaller.
Many indoor panels pair MDF-effect slats with an acoustic felt backing. The felt creates a softer, more layered appearance and can help reduce sound reflection in a room. That does not mean panels will soundproof a wall on their own. If acoustic performance is the priority, fitting battens and acoustic insulation behind the panels can make a more noticeable difference. For most homes, though, the immediate benefit is the premium visual finish.
Choose the look before you choose the panels
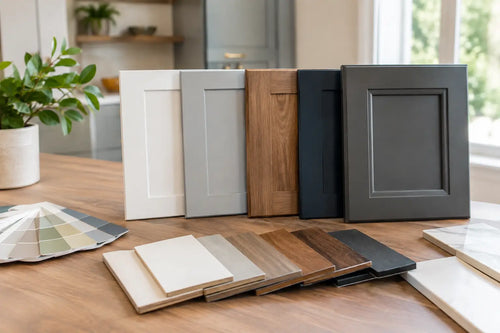
Start with the room rather than the trend. A dark walnut-style finish can make a large lounge feel rich and cosy, especially when paired with warm lighting and neutral furnishings. In a compact room with limited daylight, lighter oak tones usually keep the scheme more open. Black slats offer a sharper, more architectural look, but they need enough surrounding light and contrast to avoid making the wall feel heavy.
Think about where the panelled wall ends as well. A full-height, full-width installation has real impact and works especially well behind a television or bed. A half-wall design can be more practical in a family home, with paint above it to keep the space light. Panels can also be used to define a small zone, such as a desk area in a bedroom or a reading corner in an open-plan lounge.
Consistency matters. Match the undertone of the panel finish to nearby flooring, furniture and doors rather than trying to match every timber surface exactly. Two finishes that are almost identical can clash more than deliberately contrasting tones. If your flooring is cool grey oak, for example, a soft black or neutral oak panel often looks more intentional than a warm orange-toned wood effect.
Consider the practical setting
Indoor acoustic slatted panels are best suited to dry internal spaces. A bathroom, shower area or damp utility room calls for a moisture-resistant wall solution such as PVC wall boards instead. For garden walls, outdoor panels and composite products are designed to handle changing British weather far better than interior decorative panels.
If you are renting, check your tenancy agreement before fitting anything with adhesive or screws. A freestanding slatted divider, a smaller panelled section or a carefully planned removable decorative solution may be a better choice where permanent changes are restricted.
Plan the wall like a professional
The most polished installations are planned before the first cut. Measure the height and width of the wall in several places, particularly in older properties where walls and ceilings are not always perfectly square. Work out how many full panels you need, then decide where any narrower cut panels will sit. It is usually better to place cuts at the outer edges or in less visible corners than directly in the middle of the wall.
Mark the positions of sockets, switches, wall lights and TV brackets. A media wall needs a little extra thought: decide where cables will run, whether the television mount needs fixing directly into the wall, and whether the panels will sit behind or around the screen. Never rely on decorative panels alone to support a television bracket.
Lay panels on the floor in the intended order before fitting, particularly if the finish has natural-looking grain variation. This gives you control over the overall appearance and prevents an accidental repeated pattern from becoming obvious once the wall is complete.
A small amount of preparation pays off. The surface should be clean, dry and sound, with loose paint, flaking wallpaper and protruding fixings removed. Panels can disguise minor imperfections, but they will not correct serious damp, crumbling plaster or an uneven wall. Address those issues first so the installation lasts.
Fitting slatted wall systems with confidence
Most decorative slatted wall panels can be fitted using a suitable grab adhesive, screws, or a combination of both. Adhesive is often the quickest route on a flat, stable wall, while mechanical fixings can offer extra reassurance on uneven surfaces or where you may want to remove the panels later. Always use materials suited to the wall type and follow the fitting guidance supplied with your chosen product.
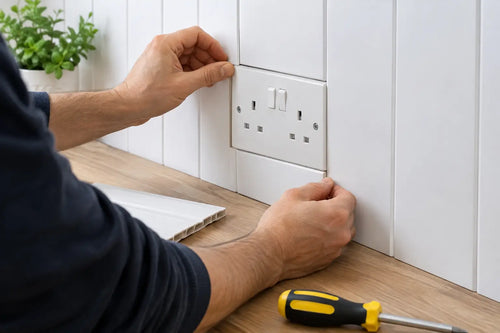
Cutting is usually straightforward with the right tools. Measure twice, mark clearly and use a fine-tooth saw for a neat edge. Take your time around sockets and switches. Isolate the electricity before removing faceplates, and if you are unsure about extending wiring or altering electrical points, use a qualified electrician.
Begin from one side of the wall and check the first panel with a spirit level. This first line controls every panel that follows. Press each panel firmly into position, keep the slats aligned, and check the joins as you go. A tiny gap or tilt at the beginning becomes much more visible by the end of the run.
Finishing trims are not an afterthought. They give exposed panel edges a crisp, intentional end point and are particularly useful around outside corners, media-wall recesses and partial-height designs. A colour-matched trim can make a DIY installation look far more refined without adding much time to the job.
Common mistakes that spoil the finished look
The biggest mistake is treating the wall as a simple rectangle when it has sockets, skirting boards, coving or awkward corners. Measure around every obstacle and allow for cuts before ordering. It is sensible to have a little spare material for mistakes, future repairs or a later matching project.
Another common issue is choosing a finish in isolation. A sample-sized view online can look different once it covers a full wall under your home lighting. Consider daylight, lamp colour and the direction the room faces. A north-facing lounge may benefit from a warmer finish, while a bright south-facing room can comfortably handle deeper tones.
Finally, do not expect decorative acoustic panels to solve every noise problem. They can soften the feel of a space, but noise from neighbours, traffic or a busy household may require insulation, sealing gaps and more targeted acoustic work. Choose panels for the visual transformation first, then build on their acoustic qualities if your room needs it.
Make the feature wall feel finished
Once the panels are in place, keep the styling simple. A wall-mounted television, a slim shelf, a pair of warm wall lights or a large piece of artwork is often enough. Overloading the surface with small accessories can hide the clean lines that made the design appealing in the first place.
Lighting makes a real difference. Warm-white lamps tend to bring out the depth of wood-look finishes, while a carefully positioned floor lamp can create attractive shadows between the slats. In a bedroom, matching bedside lights will make a panelled headboard wall feel calm and hotel-inspired without becoming formal.
A feature wall should work with daily life, not create another high-maintenance surface. A gentle dust with a soft cloth or vacuum brush attachment is usually all that is needed to keep it looking smart. Avoid soaking the felt backing or using harsh cleaners that could affect the finish.
With clear measurements, the right finish and a careful first panel, this is one of the most rewarding ways to update a room. Home Hub Direct supplies DIY-friendly panels, matching accessories and installation guidance to help turn the idea into a wall you will be pleased to come home to.