A feature wall can look expertly designed or slightly off before the first panel is even fitted. The difference is usually in the planning. Measuring walls for panelling accurately lets you order the right quantity, position joins neatly and avoid the frustration of a last-minute shortage.
Whether you are updating a living room, bedroom, hallway or media wall, take a little time to map the surface first. It keeps the project low-fuss and gives you the confidence to make clean decisions on panel direction, trims and cut-outs.
Start with the wall, not the room dimensions
Room measurements are useful for flooring and furniture, but panelling is ordered for the wall you are covering. Measure each wall separately, even if two walls look identical. Older homes can have walls that are slightly out of square, while chimney breasts, alcoves and skirting boards can change the usable area.
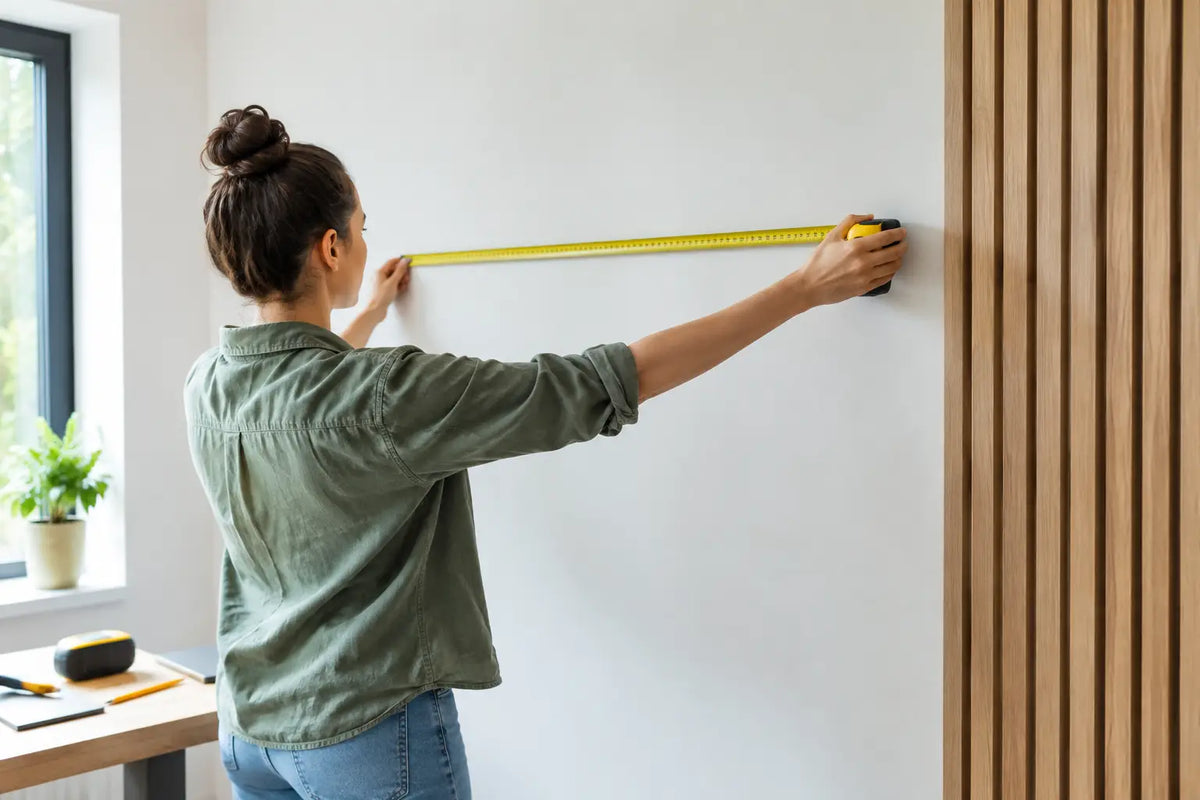
Use a steel tape measure, pencil, paper and a calculator. A laser measure is helpful for longer walls, but it is worth checking its reading with a tape measure where accuracy matters most. Measure in millimetres if your chosen panels are listed in millimetres. This makes comparing the figures much easier and reduces rounding errors.
For a straightforward full-height feature wall, measure the width at the top, middle and bottom. Use the largest measurement when ordering. Then measure the height on the left, centre and right, again working from the finished floor level to the point where the panels will end. If you are panelling up to the ceiling, check for dips or a ceiling that slopes slightly.
Write down every measurement as you take it. A simple sketch does the job well. Include doors, windows, sockets, switches, radiators, wall lights and any fixed furniture that will affect the layout.
How to calculate panel coverage
The basic calculation is wall width multiplied by wall height. For example, a wall measuring 3,600mm wide by 2,400mm high has an area of 8,640,000 square millimetres, or 8.64 square metres.
That figure is useful, but panel quantities are not always best worked out by area alone. Many decorative wall panels are sold as individual boards with a fixed width and length. In that case, calculate the number of whole panels needed across the wall first, then check whether their length covers the height.
If a panel is 600mm wide and your wall is 3,600mm wide, six panels fit across exactly. If the wall is 3,750mm wide, you still need seven panels, with the final one cut to width. For vertical acoustic slatted panels, this approach helps you plan a balanced finish at both edges rather than leaving one narrow, awkward strip at the end.
Always check the product’s stated coverage and dimensions before placing an order. Some panels overlap or use a tongue-and-groove fitting system, which means the visible coverage can differ from the full board width. Trims may also cover a small edge area, but do not rely on this to make up a shortage.
Add a sensible allowance for cuts and mistakes
Ordering the exact calculated quantity can work on a perfectly square wall with no openings. Most projects are not that simple. Add around 5 to 10 per cent for cuts, offcuts and the occasional measuring mistake.
Choose the higher end of that range if your wall has several sockets, a door opening, angled ceilings or a complex media-wall design. It is also sensible to allow more when panels have a pronounced grain, slat pattern or directional finish. You may need extra material to keep the visual flow consistent.
The right allowance depends on the project. A single, flat bedroom wall may only need 5 per cent extra. Panelling around a fireplace, built-in shelving or several electrical points is more likely to need 10 per cent. Ordering a spare panel is usually less stressful than trying to match a finish later, particularly if you are working to a decorating deadline.
Measuring around doors, windows and alcoves
Do not simply subtract every opening from your wall area. While the area behind a door or window does not need covering, you still need enough panel width and length to create the cuts around it. The offcut may not be usable elsewhere.
Measure the full wall first. Then note the width and height of each opening, plus its distance from the nearest wall edge and from the floor. This tells you exactly where a panel needs cutting.
For a window, measure the reveal depth too if you intend to panel inside it or finish the edges with matching trims. For a door, decide whether panels will finish above the architrave, meet it cleanly or continue around it. Each option changes the cuts and trim requirements.
Alcoves should be treated as separate faces. Measure the back wall, then each return wall from front to back. If you are using acoustic slatted panels, consider where the slats will start and stop. A centred arrangement often looks more considered than running a random cut into the corner.
Plan the panel direction before ordering
Panel direction changes the quantity you need and the overall feel of the room. Vertical panels can make a standard-height room feel taller, which is why they are a popular choice behind a TV, bed or dining table. Horizontal panelling can visually widen a narrow wall, but it often creates more joins on tall walls.
Before committing, compare the panel length with your wall height. Full-height vertical panels usually give the cleanest finish because they minimise horizontal joins. If your ceiling is higher than the panel length, decide where any join will sit. It may be best hidden behind a shelf, TV unit or picture rail, depending on the design.
Lay out the width on paper too. If the final panel would be a very slim strip, adjust the starting point so you can split the difference between both sides. Two equal cuts at the edges usually look intentional. One 30mm strip beside a full panel rarely does.
Account for trims, skirting and ceilings
Trims are not just a finishing detail. They affect where the first and final panels sit, especially where a wall meets an external corner, ceiling or adjoining painted surface. Measure the visible wall area, then check the trim dimensions and fitting guidance before finalising your order.
You may choose to remove skirting boards and run panels down to the floor, or keep the skirting in place and cut panels to finish above it. Keeping existing skirting is often quicker and suits many DIY projects, but start your height measurement from the top of the skirting rather than the floor.
Similarly, a coving or picture rail can become a natural stopping point. Measure to the bottom edge of it if you are not removing it. For a truly full-height look, check whether the panels can fit behind, up to or over the existing detail without creating a bulky finish.
Mark sockets and switches with care
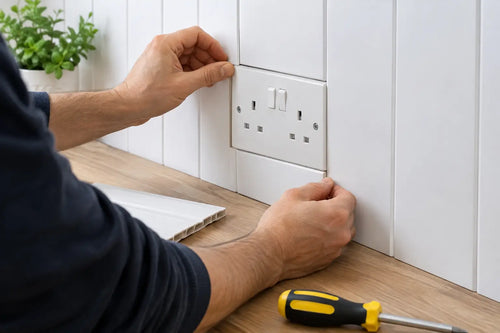
Sockets and switches need precise positioning. Measure each one from two fixed reference points: usually the nearest side wall and the finished floor or top of skirting. Record the width and height of the faceplate as well.
Transfer those measurements to the panel before fitting, double-checking the orientation first. A panel marked while lying face down can easily be cut on the wrong side if you lose track of which edge is which. Hold the panel in its intended position and mark it again before cutting.
Electrical work should only be carried out safely and appropriately. If a socket needs moving, extending or altering, use a qualified electrician. Decorative panelling should never trap damaged wiring or prevent safe access to electrical connections.
Check the wall before your final order
Your measurements can be perfect, but the wall still needs to be suitable for fitting. Check for loose paint, damp patches, major cracks and protruding fixings. Panels need a clean, sound surface to achieve a secure, polished result.
Use a long spirit level or straight edge to spot significant high or low points. Minor imperfections are often hidden by panelling, particularly with slatted designs. A noticeably uneven wall may need battens, packing or preparation first. That can change the finished dimensions around sockets, door frames and skirting, so factor it into your plan.
For a media wall, measure the finished face rather than the existing wall behind it. Include the thickness of battens, boards and any framework, then confirm clearances for the TV bracket, cables and ventilation before ordering decorative panels.
A final measuring checklist
Before you add panels and accessories to your basket, confirm these four points:
- The largest width and height measurements have been used for every wall face.
- Doors, windows, sockets, switches, alcoves and ceiling slopes are marked on your sketch.
- Your panel direction, join locations and edge cuts have been planned visually.
- You have allowed 5 to 10 per cent extra material and included the trims, adhesive or fixings required.