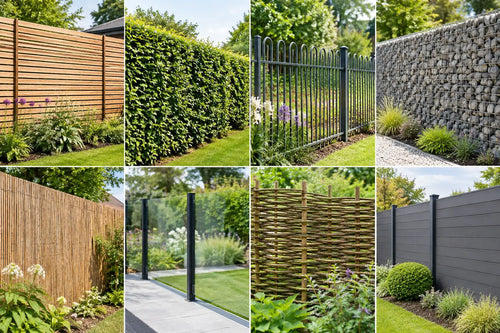
A tired boundary fence or bare garden wall can make an otherwise well-kept outdoor area feel unfinished. Outdoor panel systems offer a straightforward way to add privacy, structure and a premium contemporary finish, without taking on the regular sanding, staining and repainting associated with timber.
Whether you are shaping a quiet seating corner, screening off bins, refreshing a rental garden with permission, or making a property more appealing before sale, the right panels can change how the whole space feels. The key is to choose a system that suits the job, the site and the amount of maintenance you are happy to take on.
What are outdoor panel systems?
Outdoor panel systems are coordinated panels, fixings, trims and supporting components designed to create a finished exterior surface. Depending on the project, they may be used as decorative wall cladding, privacy screening, garden fencing or a backdrop for an outdoor dining area.
Composite options are particularly popular for modern gardens. They combine the warmth and texture of a wood-look finish with a lower-maintenance surface that is better suited to changing British weather than untreated timber. A good system does more than cover an area: its matching trims, edge details and fitting guidance help the final result look considered rather than improvised.
This does not mean every panel suits every application. Decorative panels and fencing panels can have different fitting requirements, and a screen designed for a sheltered wall should not automatically be treated as a structural boundary fence. Check the product guidance before ordering, especially where wind exposure, height or safety are factors.
Start with the result you want
It is easy to begin by choosing a colour, but the most successful garden upgrades start with purpose. Ask what the area needs to do better. Is the priority more privacy from a neighbouring property? Do you want to soften a plain brick wall? Are you trying to create a focal point behind garden furniture, a fire pit or an outdoor kitchen?
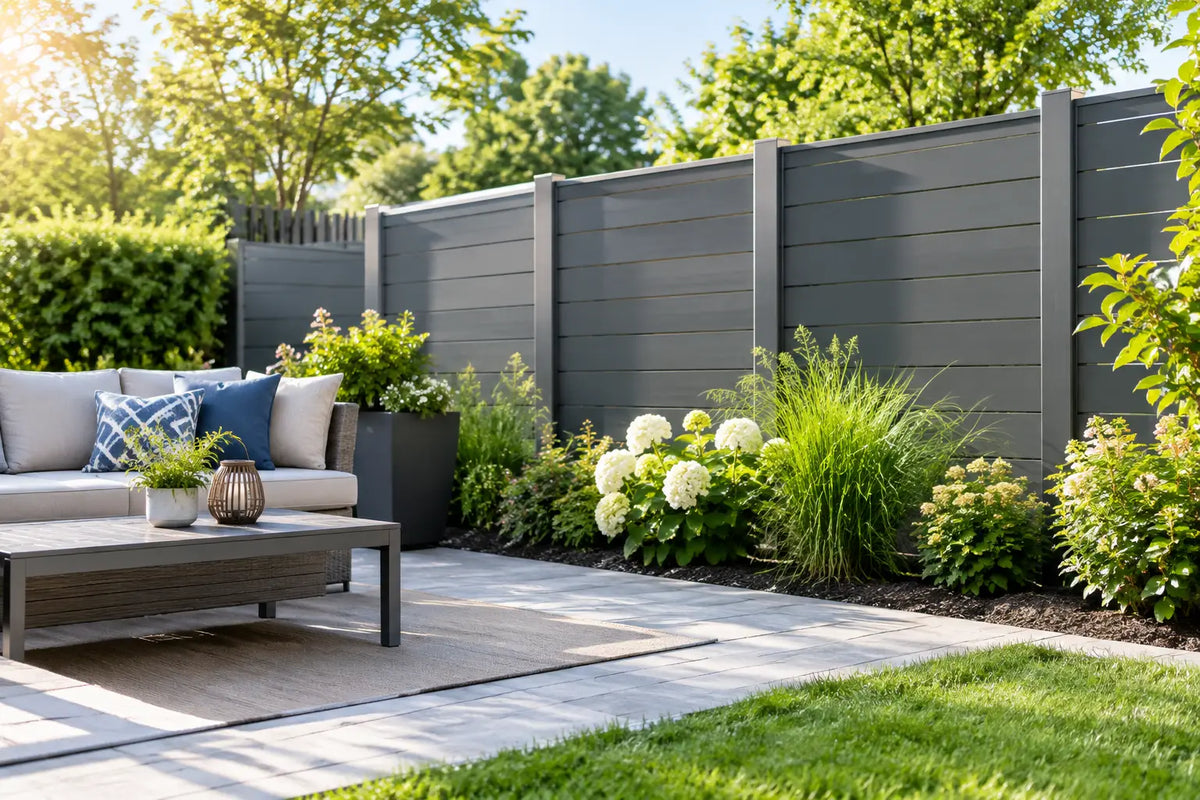
For a compact garden, panels can create definition without filling the space with lots of separate features. One carefully finished boundary or a single statement wall often has more impact than covering every surface. Dark charcoal tones bring a crisp, architectural look, while warm brown and natural wood-effect finishes can make patios and planted areas feel more relaxed.
Think about sightlines too. The view from the kitchen, conservatory or back door matters as much as the view from the garden itself. A panelled feature that frames a seating area can make the space feel intentional all year round, including on the wet afternoons when you are looking at it through the glass.
Choosing the right material and finish
Composite panels are a practical choice when you want a consistent finish with less ongoing work. Unlike many timber installations, they do not need routine staining to maintain their appearance. Usually, a wash with mild soapy water and a soft brush is enough to remove everyday dirt.
There are still trade-offs. Composite materials can cost more upfront than basic timber, and their final appearance depends on proper spacing, secure fixing and neat trimming. They are also not maintenance-free in the literal sense: pollen, mud and algae can build up in shaded or damp parts of a garden, so occasional cleaning remains worthwhile.
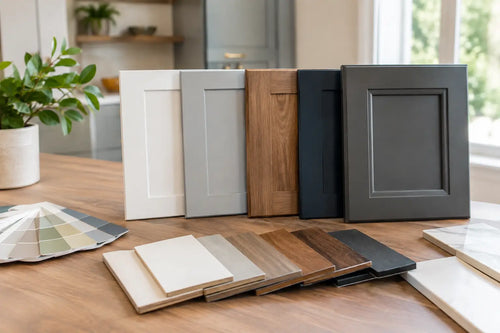
When selecting a finish, consider the fixed features around it. Grey composite fencing or panels can work beautifully with black window frames, porcelain paving and contemporary furniture. Warmer shades sit naturally alongside timber planters, brickwork and traditional planting schemes. If your garden has limited direct sunlight, avoid making every surface very dark. Balance a deeper panel colour with lighter paving, planting or furniture to keep the area open.
Order enough components for a complete finish from the outset. Panels may be the main visual element, but starter trims, corner trims, end caps, posts and compatible fixings are what make edges look clean and keep the installation secure.
Plan before you order
Measure the proposed area twice, then map out the layout before adding products to your basket. Measure the width and height of each run, allowing for posts, trims and any gaps required by the product instructions. If a wall slopes or a boundary changes level, note this early. It may affect how panels need to be cut or where you begin the installation.
It is also worth checking what sits behind and below the planned installation. Existing walls must be sound enough for the chosen fixing method. Fence posts need suitable foundations, and ground-level panels should not sit where standing water collects. Good drainage protects the installation and makes cleaning easier.
Before fitting, check these practical details:
- the location of cables, pipes and outdoor taps;
- local boundary responsibilities and any planning restrictions;
- access for delivery and space to handle full-length panels safely;
- the manufacturer’s recommended support centres, expansion gaps and fixing method.
Fitting outdoor panels for a polished finish
A tidy installation is usually about preparation, not specialist tricks. Start with a level, secure frame or support structure. If the base line is out, every panel above it will show the error. Take time to establish a straight first course and use a spirit level regularly as you progress.
Follow the supplied installation guide closely. Outdoor materials expand and contract slightly as temperatures change, so the recommended gaps and fixing points are there for a reason. Forcing panels tightly together can lead to movement or an uneven finish later.
Cutting should be done with appropriate tools and personal protective equipment. Measure each cut from the actual site rather than relying only on a sketch, particularly around posts, corners and gates. A small test cut is sensible if you are new to the material or fitting a patterned finish that needs to align.
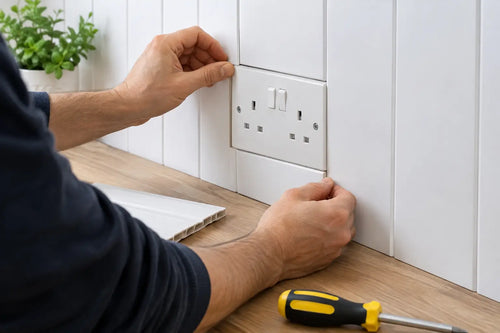
Trims deserve the same care as the panels. They cover cut ends, create crisp transitions at corners and give the project the finished look people notice first. This is where a system approach pays off: coordinated accessories help you avoid mismatched edges and last-minute compromises.
If the project involves tall fencing, exposed locations, significant retaining pressure or uncertainty around structural support, bring in a qualified installer. DIY-friendly does not mean taking risks with a boundary that needs to withstand strong wind or protect a change in level.
Make panels part of the wider garden design
The strongest outdoor spaces repeat materials and colours rather than introducing too many competing finishes. Pair a wood-look panel with composite decking for a connected, low-fuss garden scheme, or echo the panel tone in planters and outdoor furniture.
Planting makes a major difference. Architectural grasses, evergreen shrubs and climbers can soften clean panel lines, while wall lights add depth after dark. Leave enough clearance around plants for air flow and cleaning, rather than allowing foliage to press continuously against the surface.
For a smaller budget, focus on the area with the greatest visual return. A panelled backdrop behind a bench, dining set or barbecue zone can make the whole garden feel upgraded without replacing every boundary. It is a useful approach for landlords and homeowners preparing a property for viewings, where first impressions carry real weight.
Care that keeps the finish looking fresh
Outdoor panels are designed to reduce upkeep, not create another weekend job. A gentle seasonal clean is usually enough. Brush away loose debris, rinse the surface and use mild soapy water for marks that remain. Avoid harsh solvents, abrasive pads or pressure washing at close range unless the product guidance specifically permits it.
Inspect fixings and trims after severe weather, particularly in exposed gardens. Remove leaves and soil that gather around the base, and deal with algae early in shaded areas. These small checks help preserve the clean lines that made the system appealing in the first place.
Home Hub Direct makes design-led garden upgrades more approachable with ready-to-order outdoor finishes, practical accessories and fitting guidance that helps you plan with confidence. Choose the right system, prepare the site carefully and give the details the attention they deserve. Your garden can feel like a finished room, just with better fresh air.