A feature wall should look intentional, not held together by hope. The right panel adhesives help your wall panels sit flat, stay secure and deliver the clean, premium finish that makes a living room, bedroom or hallway feel complete.
Adhesive fitting is one of the quickest ways to transform a space without the mess and disruption of traditional wall work. But it is not a case of applying a few blobs and pressing a panel into place. Your wall surface, panel material, room conditions and application technique all affect the result.
What panel adhesives actually do
Panel adhesive creates a strong bond between the back of your panel and the wall behind it. For acoustic slatted wall panels, PVC wall boards and decorative cladding, it can remove the need for extensive drilling and visible fixings. That means a smarter finish and a simpler installation.
A good adhesive needs to grip both surfaces, allow enough working time to position the panel correctly and cure into a durable bond. The right choice also helps compensate for tiny surface imperfections, although it cannot solve a wall that is badly uneven, damp or unstable.
Adhesive-only fitting is ideal for many interior projects, particularly where you want a neat feature wall with fewer visible screw heads. However, some panels, walls and high-use areas benefit from additional mechanical fixings. It depends on the product instructions and the condition of the surface.
Choosing panel adhesives for your project
The best adhesive is not simply the strongest one on the shelf. It must be suitable for the materials you are joining and the environment where they will be fitted.
Match the adhesive to the wall surface
Most sound, dry interior walls can be suitable for panel installation. This includes plasterboard, painted plaster, masonry and timber, provided the surface is properly prepared. Porous surfaces may absorb moisture from the adhesive, while smooth painted finishes can reduce grip if they are dusty, glossy or poorly bonded.
Check that the existing paint is secure. If it is peeling, flaky or chalky, remove the loose material before you begin. Applying adhesive over an unstable finish only transfers the problem behind your new panels.
Fresh plaster and newly painted walls need time to dry and cure fully. A wall that feels dry to the touch may still contain moisture, and trapped moisture can affect adhesion over time.
Consider the panel material and location
Lightweight decorative panels are often well suited to adhesive fitting on a flat wall. Acoustic slatted panels can also be adhesive fitted where recommended, particularly for a straightforward feature-wall installation.
Bathrooms, kitchens and utility spaces need extra care. Moisture, steam and changing temperatures place greater demands on an adhesive bond. Use products specified for the conditions, ensure the wall is dry before fitting and avoid relying on adhesive alone where the panel manufacturer calls for extra support.
For ceilings, heavy panels or surfaces that are not perfectly flat, mechanical fixings are often the safer option. Adhesive is excellent for creating a clean finish, but gravity and weight still matter.
Prepare the wall before opening the adhesive
Preparation is where a professional-looking job begins. It also prevents the frustrating moment when a panel refuses to sit flat after you have started fitting.
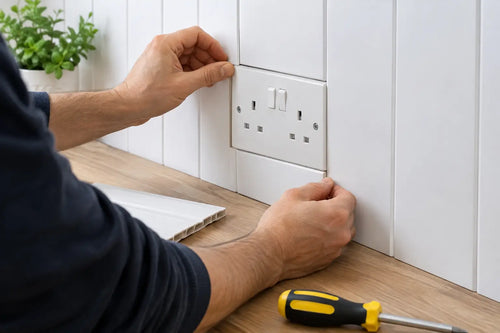
First, measure the area carefully and plan the layout. Decide where the first full panel will sit, where cuts will fall and how you will finish the edges. For slatted panels, check the direction of the slats and the visual balance around sockets, switches and media-wall features.
Then clean the wall thoroughly. Remove dust, grease, wallpaper residue and any loose paint. A clean, dry cloth may be enough for a lightly dusty wall, while greasy areas should be cleaned with an appropriate degreasing solution and allowed to dry completely.
Use a long spirit level or straightedge to check for high spots and hollows. Minor unevenness may be manageable, but pronounced dips can leave gaps behind the panel and put pressure on the adhesive bond. Fill and sand local imperfections where needed before fitting.
Finally, dry fit your first panel. Hold it in position, mark key lines lightly and check it is level. Adhesive allows some adjustment, but starting with an accurate guide makes every panel that follows easier to align.
How to apply panel adhesive neatly
Follow the adhesive manufacturer's instructions and the fitting guidance supplied with your panels. Drying times and application methods vary, so do not assume every cartridge adhesive works in exactly the same way.
For a tidy, reliable installation, use this simple sequence:
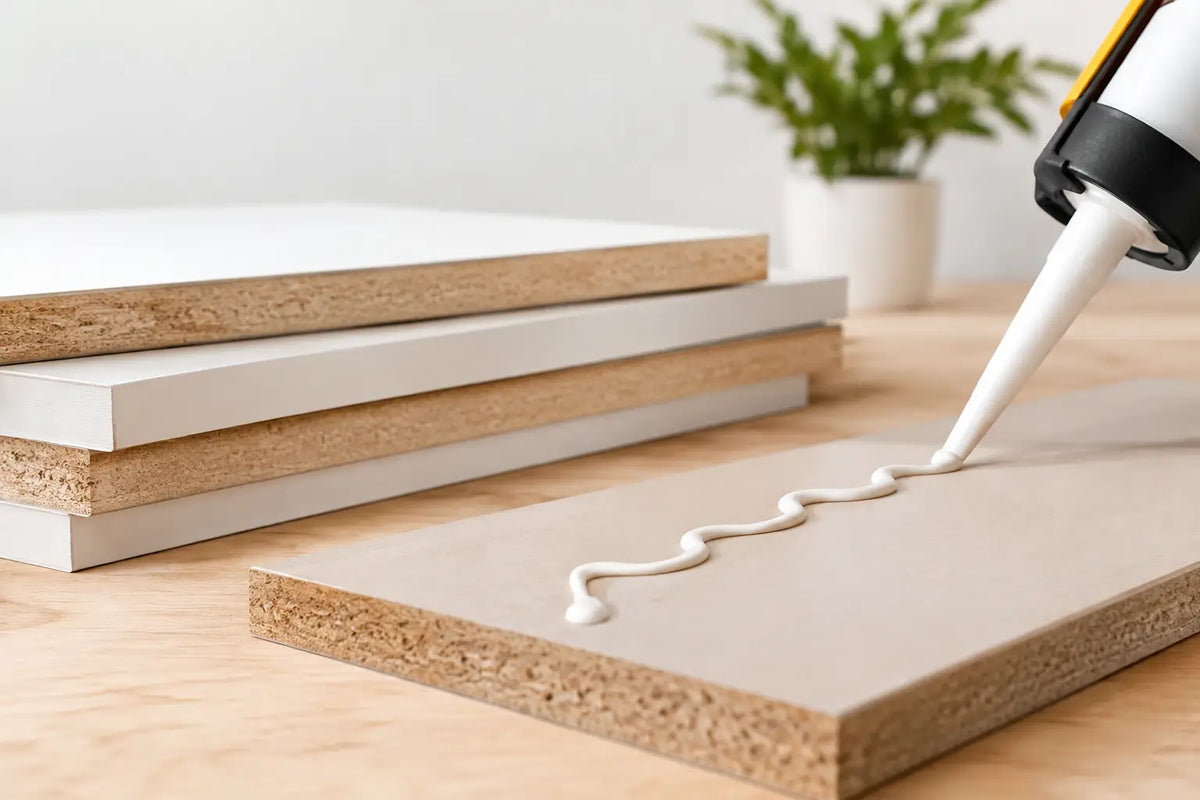
1. Cut the nozzle to a sensible bead size and load the cartridge into a caulking gun.
2. Apply adhesive in consistent vertical beads or an even pattern across the rear of the panel, keeping clear of the edges to prevent squeeze-out.
3. Position the panel against the wall using your level marks, then press firmly across the full surface.
4. Make small adjustments while the adhesive is still workable, wipe away any excess promptly and support the panel if the product guidance requires it.
Avoid huge blobs of adhesive. They can create raised points behind the panel, make alignment harder and leave an uneven finish. Even coverage is more useful than excessive coverage.
Work panel by panel rather than applying adhesive to several pieces at once. This keeps the process controlled and gives you time to check spacing, level and alignment before the adhesive begins to grab.
When adhesive alone may not be enough
Panel adhesives are designed to simplify fitting, but they are not a shortcut around poor surfaces or unsuitable conditions. If your wall is crumbly, damp, heavily textured or noticeably uneven, fix the underlying issue first.
You may also need screws, pins or another approved fixing method when fitting heavier panels, working overhead, installing in demanding environments or attaching panels to battens. In some cases, using both adhesive and mechanical fixings gives the most secure result while keeping fixings discreet.
This is particularly relevant for projects where long-term performance matters more than speed, such as a busy family hallway, a media wall around equipment or an outdoor installation. Always follow the product-specific installation advice rather than treating every panel in the same way.
Common mistakes that weaken the finish
The most common issue is fitting straight onto a dusty or unstable wall. Adhesive bonds to the surface it touches, so if that surface is loose paint or dust, the panel can only be as secure as the material behind it.
Rushing the layout is another avoidable mistake. A first panel that is slightly off level can make every following panel look crooked, especially with vertical slats and crisp trim lines. Take the extra few minutes to measure and mark before committing.
It is also tempting to keep moving panels once they are in place. Make your final adjustments within the adhesive's stated working time, then allow the bond to cure without disturbance. Do not hang shelves, mirrors or heavy accessories directly from decorative panels unless the wall structure and fixings have been planned to carry that weight.
Finish the project with confidence
The adhesive work may sit behind the panels, but it has a visible effect on the whole room. Secure, well-aligned panels create sharp joins, flat surfaces and the calm, polished look that turns a simple wall into a feature.
At Home Hub Direct, the goal is simple: premium-looking walls without making the installation feel like a specialist construction project. Plan carefully, prepare properly and choose panel adhesives suited to your surface. The result is a finish you will be pleased to see every time you walk into the room.