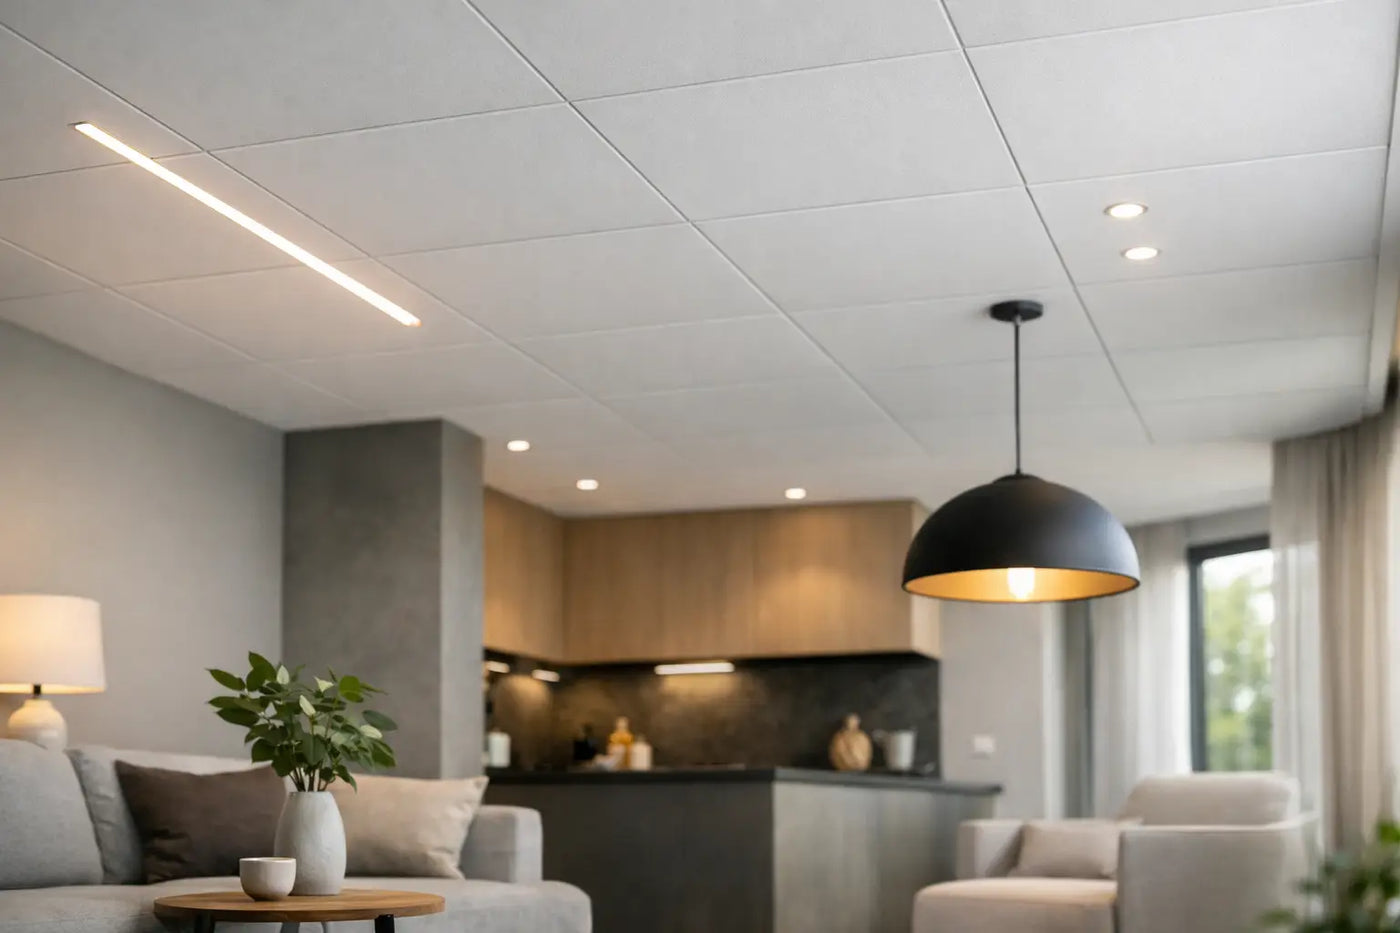
A tired ceiling can make an otherwise well-finished room feel unfinished. Yellowing paint, hairline cracks and uneven surfaces draw the eye upwards for all the wrong reasons. Ceiling panels UK homeowners choose offer a clean, contemporary alternative - creating a brighter finish without the dust, drying time and repeated repainting associated with a traditional ceiling refresh.
For bathrooms, kitchens, utility rooms and busy family spaces in particular, PVC ceiling panels make practical sense. They are designed to give you a neat, wipe-clean surface with a polished look that is far easier to maintain than paint. Choose the right finish, prepare the space carefully and take your time around edges and light fittings, and this can be a satisfying DIY upgrade with a professional-looking result.
Why choose ceiling panels in the UK?
Ceilings have a hard job. They deal with changing temperatures, everyday condensation and, in older homes, surfaces that may not be perfectly smooth. Fresh paint can improve the appearance temporarily, but it will not hide every imperfection for long. Ceiling panels cover the surface beneath, helping you achieve a consistent finish across the whole room.
The main appeal is simple: less upkeep, more impact. A panelled ceiling can brighten a compact bathroom, give a kitchen a sharper finish or help a utility room feel more considered. Unlike a freshly plastered ceiling, there is no waiting for a surface to dry before decorating. Unlike paint, there is no need to plan for regular touch-ups after steam, splashes or everyday wear.
They are also a sensible choice for renovation projects where you want visible progress quickly. Rather than removing an old ceiling finish, you can often install panels over a suitable existing surface or a correctly prepared framework. The exact approach depends on the condition of the ceiling and the panel system you select.
Choosing ceiling panels UK homes will suit
The best panel is not always the glossiest or brightest one. Start with the room, the amount of natural light and the look you want to create. A finish that works beautifully in a small en-suite may feel too reflective in a large open-plan kitchen.
White, gloss or matte?
White remains a popular ceiling choice because it reflects light and keeps the room feeling open. Gloss panels can enhance this effect, making them especially useful in rooms with limited daylight. They are often chosen for bathrooms and kitchens where a crisp, bright look is the priority.
A matte or more subtle finish can suit bedrooms, hallways and living areas where you want a calmer, less reflective surface. It is worth viewing the finish in relation to your wall colour, lighting and fittings. Cool white lighting can make a high-gloss panel feel more clinical, while warmer lighting can soften the overall effect.
Think about room conditions
Bathrooms and shower rooms need materials that can cope with moisture in the air, but fitting quality matters just as much as the panel itself. Ensure the room has suitable ventilation, seal and finish joints as directed, and avoid treating panels as a fix for an underlying leak or damp problem. Solve the cause first, then install your new ceiling with confidence.
For kitchens, consider where steam and grease are most likely to build up. A wipe-clean surface is a real advantage, but regular gentle cleaning will keep it looking its best. In utility rooms, a practical white ceiling can make even a hardworking space feel lighter and more organised.
Measure more than once
Measure the ceiling length and width at several points, particularly in older properties where walls may not be perfectly square. Calculate the total area, then check the direction in which you intend to run the panels. Running panels along the longest line of the room often creates a more balanced appearance, although the layout around windows, extractor fans and lighting may influence your decision.
Allow for trims, joining pieces and sensible cutting tolerance. Ordering only the exact panel coverage can leave you short if one cut goes wrong. A little planning before you order is cheaper and less frustrating than pausing the job halfway through.
Prepare the ceiling for a cleaner finish
A good result starts above the panels. The existing ceiling should be dry, stable and free from anything loose that could affect the fixings. Remove flaky paint, loose wallpaper edges, old fittings and debris. If there are signs of water staining, investigate whether the source has been fully resolved before covering it.
You may be able to fit panels directly to a sound, level surface using the recommended adhesive, or you may need a batten framework to create a straight base. Battens can be particularly useful where the existing ceiling is uneven or where you need room to manage services. However, they take careful levelling. A rushed framework will show in the finished ceiling.
Before starting, decide where light fittings, extractor vents, access points and cable routes will sit. Turn off the relevant electricity supply before working near electrical fittings. If you are uncertain about wiring, altered circuits or the suitability of a fitting for its location, ask a qualified electrician. A stylish ceiling should never come at the expense of a safe installation.
How to fit ceiling panels with confidence
Read the panel-specific fitting guidance before making your first cut. Product systems vary, and the recommended adhesive, fixing method, trim order and expansion allowance should always take priority over general advice.
Start with a clear plan for the perimeter trims. These create the neat border that makes the installation look intentional rather than improvised. Cut them accurately, dry-fit where possible and keep joints tidy. In most rooms, it helps to establish a straight starting line rather than relying entirely on a wall that may not be true.
Fit the first panel with extra care. It sets the alignment for every panel that follows. Use a level, follow the manufacturer’s instructions for adhesive or mechanical fixings, and make sure the tongue-and-groove connection is fully engaged before moving on. Work steadily rather than forcing panels into place.
For downlights, vents and other openings, measure from fixed points twice and mark the panel clearly before cutting. Cut slightly conservatively where the fitting’s bezel will cover the edge, but never assume it will hide a large error. A fine-tooth saw or suitable cutting tool will help you achieve a cleaner edge. Always support the panel while cutting to reduce the chance of cracking or chipping.
Leave any required allowance for movement around edges and use the correct finishing trims to conceal it. This small detail matters. Panels can react to temperature changes, and a ceiling that is fitted too tightly may not sit as intended over time.
Common mistakes that spoil the finished look
The most common problem is treating ceiling panels as a shortcut with no preparation. They are quick to install compared with major plastering work, but they still need a stable base, accurate measurements and a considered layout. Covering a damp ceiling, fixing to loose surfaces or skipping ventilation issues simply stores up work for later.
Another mistake is choosing fittings after the panels are already installed. Plan lights, extractors and access requirements before fitting begins. If you may need access to valves, wiring or services above the ceiling, build that into the design rather than hoping you will not need it.
Finally, avoid harsh cleaners and abrasive pads. One of the strongest benefits of PVC panels is easy maintenance, so keep it easy. A soft cloth with warm water and a mild, non-abrasive cleaner is usually enough for routine cleaning. Check the product care instructions if you are unsure.
A polished room upgrade without the disruption
Ceiling panels work best when they are part of the wider room plan. Pair a bright panelled ceiling with coordinated wall boards for a bathroom that feels clean from every angle, or use it to bring a crisp finish to a kitchen refresh without committing to a full renovation. The result can feel surprisingly high-end because the details are consistent: clean edges, considered lighting and surfaces that are easy to live with.
At Home Hub Direct, the aim is to make those design-led upgrades feel achievable, whether you are refreshing one small room or preparing a property for its next chapter. Choose a finish that suits how you use the space, measure carefully and follow the installation guidance from the start. Your ceiling may not be the first thing guests notice, but a well-finished one makes every other choice in the room look better.
Frequently asked questions
How much do ceiling panels cost in the UK?
Ceiling panels from Home Hub Direct range from £6.99 to £51.99 per panel, depending on size and finish. Slat-effect ceiling panels sit at the upper end of that range; plain PVC ceiling boards at the lower end.
Can ceiling panels be fitted over an existing ceiling?
Yes. Ceiling panels are usually fitted directly over a sound existing ceiling, including plasterboard and artex, provided the surface is clean, dry and firmly attached. This avoids the mess of pulling the old ceiling down.
Do you need to remove artex before fitting ceiling panels?
Not usually. Panels can be fitted over artex as long as it is stable and not flaking. Because artex applied before 2000 may contain asbestos, it is safer to cover it than to sand or scrape it.
What adhesive should be used for ceiling panels?
A grab adhesive suitable for overhead use. On ceilings, adhesive alone is not enough during curing — support the panels with props or pins until the adhesive sets, because gravity works against you.
Are ceiling panels suitable for bathrooms and kitchens?
PVC ceiling panels are waterproof and suit bathrooms, shower rooms and kitchens. Wood-effect acoustic panels are not designed for permanently humid rooms.
How long does it take to fit a ceiling?
A single average room ceiling is typically a one-day job for two people, including preparation. Working overhead is slower than wall panelling, so allow more time than for an equivalent wall area.