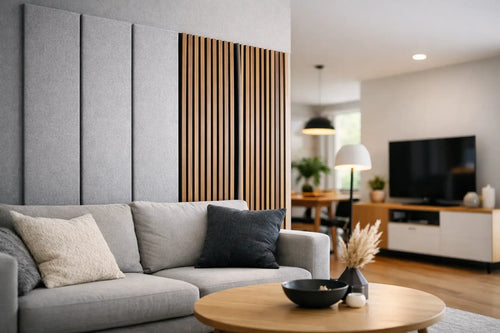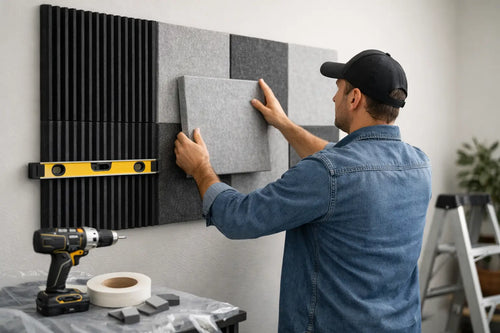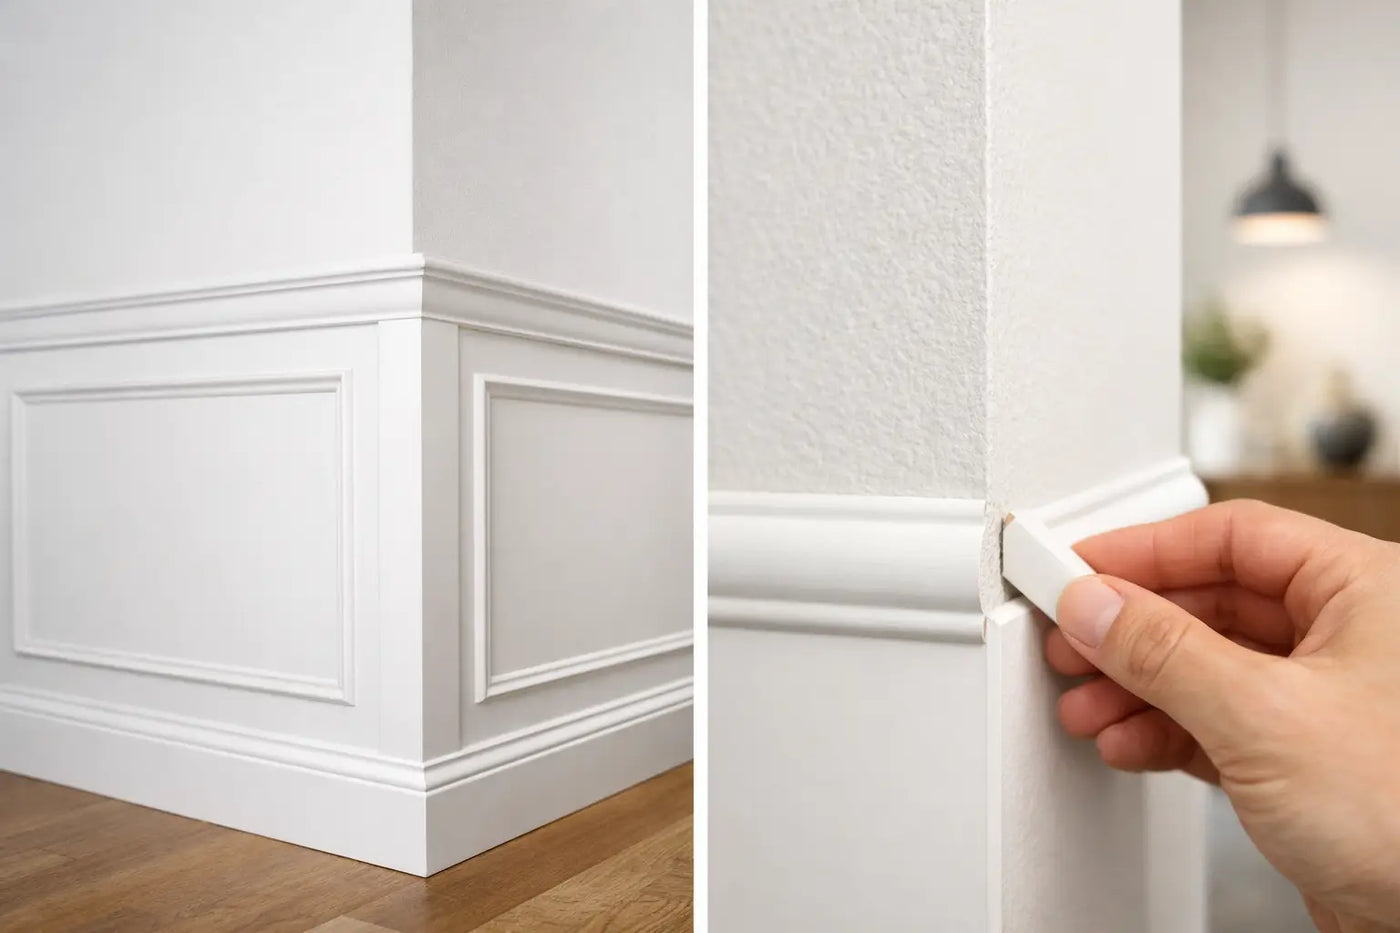
A feature wall can look beautifully designed or slightly unfinished depending on one small detail: the edges. Wall panel trims cover cut lines, corners and joins so your new wall looks intentional from every angle. They are the final touch that turns a DIY project into a polished part of the room.
Whether you are fitting PVC wall boards in a bathroom, creating a media wall in the lounge or refreshing a hallway, choosing the right trim before installation makes the job easier. You will avoid awkward gaps, protect exposed panel edges and create a finish that feels clean rather than improvised.
Why wall panel trims make such a difference
Panels are designed to create impact quickly, but walls are rarely perfectly square. Corners may be uneven, ceilings can slope slightly and cut edges are difficult to make invisible without a neat finishing detail. Trims give you a practical solution without adding unnecessary complexity.
They help conceal small cutting tolerances, protect vulnerable panel edges from knocks and moisture, and create a consistent line around the installation. This matters particularly in kitchens, bathrooms and busy family spaces, where exposed edges can collect dirt or be more prone to damage.
The visual benefit is just as valuable. A matching trim frames the design, much like a skirting board completes a floor. In a contemporary bathroom, a slim silver or black edge can add definition. In a softer wood-effect scheme, a coordinating trim keeps the look warm and considered.
The main types of wall panel trims
The best trim depends on where the panel ends and how two surfaces meet. Planning this before you order means you can fit with fewer interruptions and achieve a more professional result.
End trims for exposed panel edges
End trims, sometimes called finishing trims, are used where a panel run stops against an open edge. Think of the final panel beside a doorway, at the end of a shower wall or on one side of a feature panel section.
They create a tidy border and cover the raw panel edge. Choose a trim that matches your panels for a subtle finish, or use a contrasting colour when you want a sharper, more architectural look. Black end trims work particularly well with dark marble-effect boards and modern media-wall schemes.
Internal corner trims
Internal corner trims are made for the inside corner where two walls meet. Rather than trying to cut both panels to meet perfectly, the trim creates a neat channel that disguises the join.
This is a forgiving option for DIY fitting, especially in older homes where corners may not be true. It also leaves a clean, easy-to-maintain finish in shower enclosures and utility areas.
External corner trims
External corner trims protect the outward-facing corners that get the most day-to-day contact. Use them around boxed-in pipework, wall returns, window reveals and any panelled section that projects into the room.
They are worth fitting even where the corner seems low-risk. A protected edge is less likely to chip if it is knocked by a hoover, furniture or a passing school bag. The trim also gives the corner a crisp, straight profile.
Joining trims for longer walls
When a wall is wider or taller than a single panel, joining trims connect two panel edges in a deliberate, discreet way. They are especially useful on large bathroom walls, utility rooms or commercial-style feature areas where several boards are needed.
A join does not have to interrupt the design. With careful spacing and a matching colour, it can simply become part of the panel layout. Measure the wall first, then work out where any joins will fall before fixing the first board.
Ceiling and floor trims
Ceiling and floor trims are used where panels meet the top or bottom of the wall. In wet areas, they can help create a more protected edge when used with the correct sealant. In living spaces, they create a finished transition to existing coving, skirting or flooring.
You may not need both. If panels run neatly behind skirting boards or terminate below coving, an additional trim can be unnecessary. The right choice depends on the room and the finish you want, not on adding trim everywhere possible.
Choose the right colour and finish
For a calm, coordinated result, choose trims in the same colour family as your panels. White trims suit clean, bright wall boards. Chrome or silver finishes can complement light marble patterns, while black creates a striking outline around darker panels or monochrome interiors.
Contrast is a design choice, not a compromise. A black trim against a pale panel can echo black taps, shower frames, sockets or media-wall details. The key is repetition. If the trim colour appears elsewhere in the room, it will look deliberate rather than out of place.
Also consider sheen. A high-gloss trim beside a matt panel can look mismatched unless the room already uses reflective finishes. If you are unsure, a coordinating trim is usually the simplest route to a premium-looking result.
Measure trims before you start fitting
Measure every edge that needs finishing, including corners, panel ends, vertical joins and top or bottom runs. Add the lengths together, then allow a little extra for cuts and unexpected adjustments. Ordering one additional length is often far easier than pausing a project halfway through.
Lay out your panels and trims in the room before applying adhesive. This lets you check the direction of patterns, identify the best starting point and confirm that your finishing pieces work with the layout. For marble-effect panels, pay particular attention to the flow of veining between boards.
Mark each trim lightly before cutting. A fine-tooth saw or suitable cutting tool will give a cleaner edge than rushing with the wrong blade. Always measure twice, particularly for visible external corners where a short cut will be obvious.
How to fit wall panel trims neatly
Start with the trim that defines your first panel edge. In many installations, this will be an end trim or internal corner trim. Apply an appropriate adhesive to the back of the trim, position it carefully and press it into place. Check it is straight before the adhesive begins to grab.
Fit the panel into the trim channel, following the panel installation guidance for adhesive placement and alignment. Continue across the wall, adding joining trims or corner trims as your layout requires. Avoid forcing panels into a tight channel - they should sit securely without bowing.
For bathroom and shower-area projects, use a suitable sanitary sealant where required to create a water-resistant finish. Apply it neatly and smooth it straight away for a clean line. In dry rooms, sealant may not be necessary at every trim, but it can still be useful where small gaps need closing.
Take your time with the final panel. It is often the one that needs trimming to width, and it is where a finishing trim earns its place. A precise final cut, covered by a matching end trim, will make the whole wall look properly planned.
Common mistakes to avoid
The most common issue is treating trims as an afterthought. If you buy panels first and consider edges later, you may find that your chosen colour or profile is unavailable when you are ready to fit. Include trims, adhesive and sealant in the original plan.
Another mistake is assuming every wall corner is square. Check with a square or hold a trim in place before cutting panels. If the wall is uneven, an internal corner trim is often more forgiving than trying to create a perfect panel-to-panel joint.
Do not rely on adhesive alone to hide a rough edge. Adhesive is there to secure the installation, not fill visible gaps. Clean cuts, correctly positioned trims and a light touch with sealant will always give a better result.
Finally, keep protective film on trims for as long as the manufacturer recommends, particularly on glossy or metallic finishes. Removing it only once fitting is complete helps prevent scratches during the job.
Plan for a finish you will enjoy living with
A great wall panel project is not about adding more details. It is about choosing the few details that make the installation feel complete. The right trims protect the hard-working edges, sharpen the overall design and make maintenance easier once the room is back in use.
Home Hub Direct makes it simple to pair panels with the practical accessories needed for a tidy finish, supported by clear installation guidance and UK-based help when you need it. Take a moment to plan your edges before you begin, and your finished wall will look every bit as good up close as it does from across the room.