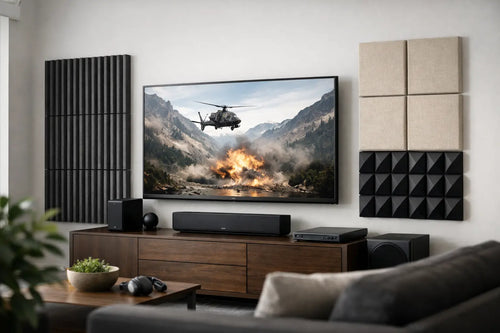
A television can quickly become the visual centre of a living room - even when the rest of the space is beautifully styled. Media wall panels give it a purposeful backdrop, adding warmth, texture and a more considered finish without the mess, cost or disruption of rebuilding an entire wall.
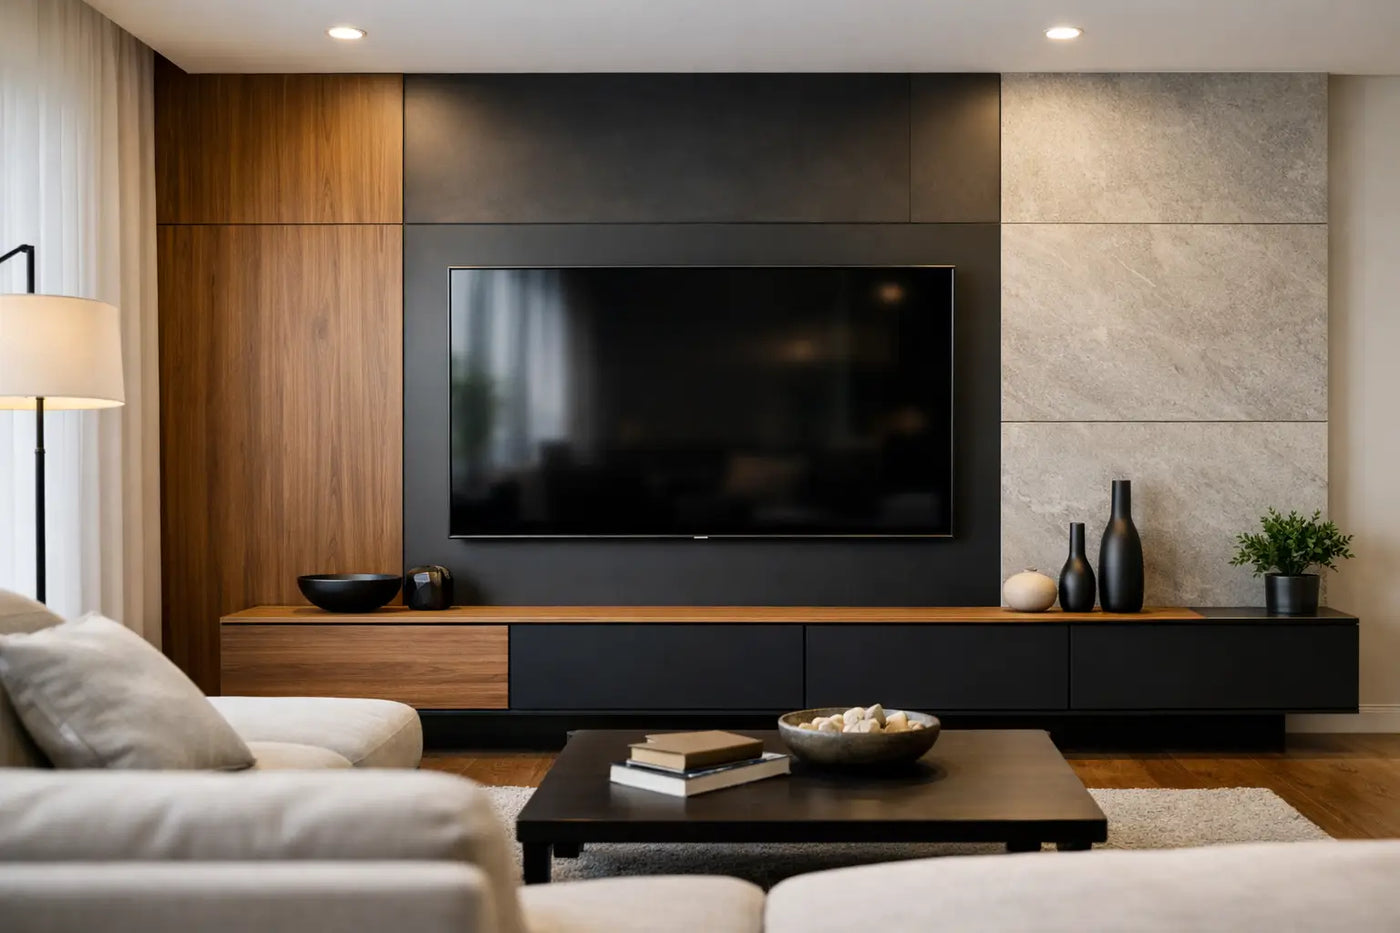
For many homes, this is the difference between a TV placed on a wall and a proper feature wall. The right panel layout can frame the screen, soften a plain room and make everyday tech feel like part of the interior rather than an afterthought.
Why choose media wall panels?
A built-in media wall has real impact, but it can also mean studwork, plastering, decorating, electrical work and several days of disruption. Slatted wall panels offer a simpler route to a similar design-led result. They bring depth to the wall straight away and can be fitted around a wall-mounted television, behind a media unit or across a full chimney breast.
The appeal is not just visual. Acoustic-backed slatted panels can help reduce echo and soften sound in rooms with hard floors, large windows or minimal soft furnishings. They will not turn a living room into a recording studio, but they can make the space feel less harsh and more comfortable for films, gaming and everyday conversation.
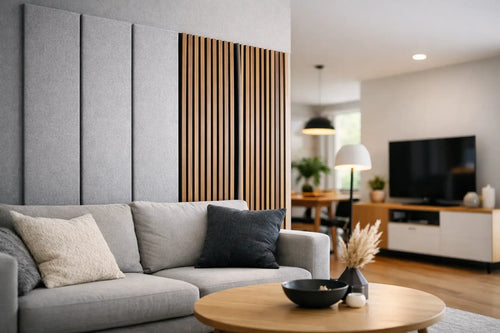
Wood-look finishes also add the warmth that black screens, speakers and cables tend to lack. Dark walnut tones create a dramatic cinema-inspired look, while lighter oak-style finishes suit airy, contemporary spaces. Black or charcoal panels can make the TV recede visually, which is often useful when you want the screen to feel less dominant when switched off.
Plan the wall before choosing a finish
The most successful media wall panel projects start with proportions, not colour. Measure the width and height of the wall, then note the television size, the position of sockets, the route for cables and the depth of any unit below. A few minutes of planning prevents awkward joins and last-minute cuts around fittings.
Decide how much of the wall to panel
A full-height feature wall makes a strong statement and works especially well behind a wall-mounted TV. It can make a standard ceiling height feel taller because the vertical slats draw the eye upwards. This approach is ideal for a focused lounge wall, a snug or a bedroom TV area.
A centred panel section is a more understated alternative. Panel a section wider than the television and media unit to create a deliberate frame, while leaving the surrounding wall in paint. This can be a smart choice in smaller rooms, where covering every surface in a dark finish may feel too enclosed.
For a chimney breast, keep the panel area aligned to the breast itself where possible. Extending it slightly beyond the edges can work, but it needs to look intentional and balanced with furniture either side. There is no single rule here - room size, wall shape and the scale of the TV all matter.
Choose a finish that works with the room
Use the existing room palette as your starting point. Warm oak-style media wall panels sit naturally with cream, stone, soft green and neutral upholstery. Walnut-style finishes work brilliantly alongside deeper paint colours, brass details and darker furniture. Black panels create a crisp contemporary contrast, especially with pale walls and light flooring.
Before committing, consider how much daylight reaches the wall. A dark finish can look rich and sophisticated in a bright room, but may feel heavy in a north-facing space with limited natural light. In that case, use dark panels as a central section rather than a full-wall treatment, or balance them with a light media unit and warm lamps.
Also look at the grain direction and slat spacing. Vertical slats are naturally flattering for most rooms, while a clean, evenly spaced panel design tends to look more polished than an overly busy pattern. Let the panel texture do the work rather than competing with patterned wallpaper, oversized artwork and too many accessories.
Get the TV position right
A feature wall cannot rescue an uncomfortable viewing position. As a useful guide, the centre of the screen should sit close to seated eye level. The exact height depends on sofa depth, viewing distance and the size of your TV, but mounting it too high is one of the most common mistakes in media wall projects.
Leave enough breathing room around the screen. Panels look best when the television is centred within the composition, rather than squeezed close to one edge or placed directly above a unit with no visual gap. If you are using a soundbar, plan for that too. Give it a clear position below the screen rather than treating it as an afterthought.
Cables deserve attention before the panels go up. Decide whether they will run through cable trunking, behind the TV or into a cabinet below. You may need an electrician to move or add sockets, particularly if wiring will be concealed. Decorative panels are straightforward to fit, but electrical work should always be handled safely and in line with current regulations.
If the wall contains a working fireplace, radiator or other heat source, take extra care. TVs and panel materials need suitable clearance from heat, and manufacturer guidance for each product should be followed. A visual upgrade is never worth compromising safety or access for maintenance.
How to fit media wall panels neatly
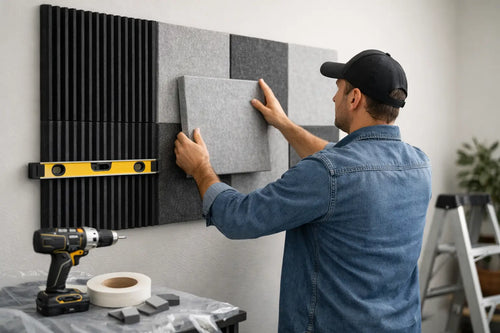
The beauty of a panelled TV wall is that it can be a realistic DIY project. A sound, clean and dry wall is the best starting point. Check for loose wallpaper, flaking paint and obvious uneven areas before you begin. Small surface imperfections are often hidden by panels, but severe bows or damp issues should be resolved first.
Mark a level starting line and plan where each board will finish before applying adhesive. A dry layout helps you avoid ending up with a narrow, uneven strip at one side of the wall. Where possible, begin from the most visible edge or centre point, depending on the design, and work outwards.
Cut-outs for sockets, switches and cable points require careful measuring. Measure twice, mark clearly and use the right cutting tool for the panel material. Take your time around the TV bracket area too. If the bracket needs to sit directly against the wall, fit it securely to the structural surface rather than relying on decorative panels alone.
Finishing trims make a noticeable difference. They give exposed edges a clean line and help the project look fitted rather than simply attached. Match or contrast the trim depending on the finish you have chosen, but keep it consistent around the whole installation.
Home Hub Direct provides a free installation guide with every order, helping DIY customers work through fitting with confidence. It is a straightforward way to achieve a premium-looking result without relying on a full renovation team.
Style the finished wall without overcrowding it
Once the panels and TV are in place, keep the styling restrained. A low media unit can ground the arrangement and provide practical storage for consoles, remotes and devices. Choose a unit that is wider than the television where space allows, as this usually creates a more balanced silhouette.
Lighting is a simple way to add atmosphere. A floor lamp nearby, warm side lamps or subtle LED lighting behind the screen can highlight the texture of the slats in the evening. Avoid overly bright, cool-toned lighting, which can flatten the warmth of wood-look finishes and make the wall feel more commercial than cosy.
A few carefully chosen objects are enough. A plant, a stack of books or a ceramic vase can soften the look, but the panels are already a design feature. Leaving some clear space lets the texture, finish and clean lines stand out.
Is a panelled media wall right for your home?
Media wall panels are particularly effective when you want impact without committing to major building work. They suit new-build homes that need more personality, older properties with a dated focal wall and rental homes where permitted decorative upgrades need to remain practical. For renters, always check your tenancy agreement and choose an installation method that can be removed appropriately if needed.
They are not always the best answer for every wall. If a surface has persistent damp, significant structural movement or complicated heat requirements, tackle those issues first. Likewise, if you need deep shelving, a recessed TV or an inset electric fire, a constructed media wall may be the better route.
For a stylish, low-fuss transformation, however, panels offer a flexible middle ground. Measure carefully, choose a finish that belongs in the room and give the TV the considered setting it deserves. A plain wall can become the part of the home everyone notices first.