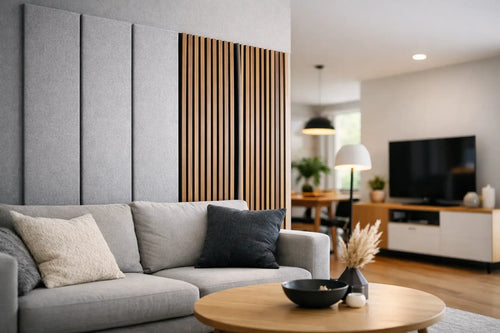
A blank wall can make a beautifully furnished room feel unfinished. Acoustic slatted panels add warmth, texture and a more considered finish in a single weekend project - whether you are upgrading a media wall, refreshing a bedroom or giving a hallway more impact. Knowing how to install acoustic panels properly is what turns a good-looking product into a clean, premium feature wall.
The fitting itself is refreshingly straightforward, but the preparation matters. Measure carefully, choose the right fixing method for your wall and take your time around sockets, corners and edges. The result should look deliberate from every angle, not simply attached to the wall.
Before You Install Acoustic Panels
Start by deciding exactly where your panelled area will begin and end. Full-height panels create a bold, architectural look behind a TV or bed, while a half-height installation can add character to a dining area, hallway or home office without taking over the room.
Check that the wall is dry, sound and reasonably flat. Remove loose wallpaper, flaking paint, old fixings and anything that could prevent adhesive or battens from sitting securely. A little surface preparation now avoids movement or uneven lines later.
Let the panels rest in the room for at least 24 hours before fitting, particularly if they have arrived from a cold delivery vehicle. This allows the materials to acclimatise to the temperature and humidity of your home. Keep them flat and supported while you work.
You will usually need a tape measure, pencil, spirit level, straight edge, drill and appropriate screws. For cutting, use a fine-tooth saw or circular saw for the slats and backing, plus a sharp utility knife for small adjustments to the felt where needed. Safety glasses and gloves are sensible whenever you cut or drill.
If you are using adhesive, choose a high-grab, solvent-free construction adhesive suitable for your wall surface. If you are fitting on battens, you will also need timber battens, wall plugs and screws that suit masonry or plasterboard. Check for pipes and cables before drilling - especially around sockets, switches and radiators.
Choose Your Fixing Method
There are two reliable ways to fit acoustic panels: direct adhesive fixing or fixing through the felt backing into timber battens. The best option depends on your wall, the finish you want and whether improved acoustic performance is part of the brief.
Fixing panels directly to the wall
Adhesive is the quickest route for a decorative feature wall on a smooth, solid surface. Apply the adhesive in even vertical beads across the back of the felt, then press the panel firmly into position. Hold it briefly and check it is level before moving on.
This method keeps the finished depth to a minimum, which can be helpful in narrower rooms and hallways. It is ideal where your priority is visual warmth and texture rather than creating a cavity behind the panels.
The trade-off is permanence. Adhesive-fixed panels are difficult to remove without some risk to paint or plaster, so take extra care with layout before committing. For renters, always get permission first and consider whether a battened framework is more appropriate for your agreement and wall type.
Fitting acoustic panels onto battens
Battens create a small gap between the wall and the acoustic felt. That gap can help with sound absorption, particularly when insulation is added between the battens, and it gives you a secure mechanical fixing rather than relying solely on adhesive.
Fit vertical timber battens at regular intervals across the wall, using a spirit level to keep every piece straight. Use suitable plugs and screws for the substrate. On a solid brick or block wall, this generally means masonry plugs and screws. On plasterboard, locate studs where possible or use fixings rated for the weight and wall condition.
Once the battens are secure, place the panel over them and screw through the felt backing into the timber. Black screws blend discreetly into the felt and keep the finish clean. Avoid overtightening, as this can pull the felt or create an uneven surface.
This approach adds more time and depth, but it is often the better choice for a media wall, a room where sound is a concern, or any project where you want a more substantial build-up.
How to Install Acoustic Panels Step by Step
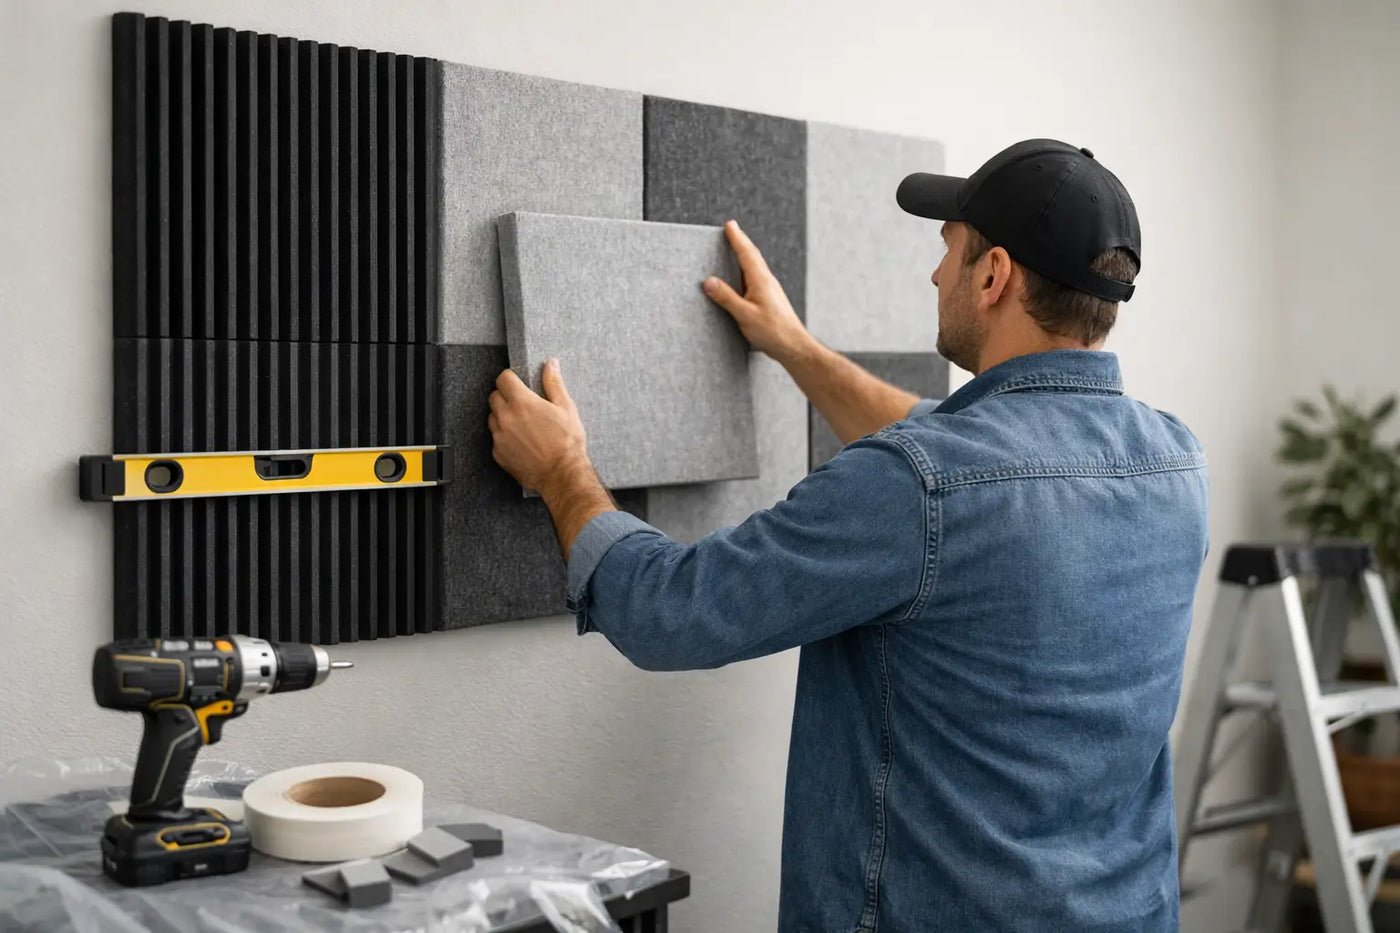
Begin with the most visible edge of the wall. This is often a corner, the side nearest a doorway or the centre point behind a television. Starting from a clear reference line means any trimmed panel is more likely to fall at the less noticeable end of the design.
1. Mark a level starting line
Walls and floors are not always perfectly square, even in newer homes. Do not assume the first panel will sit straight just because it is pushed into a corner.
Use a spirit level to draw a vertical guide line where the first panel will sit. If the skirting board stays in place, measure from its top rather than from the floor. This keeps your panels visually level even if the flooring has a slight slope.
2. Dry-fit the first panel
Place the first panel against the wall without adhesive or screws. Check the height, width and alignment, then decide whether any trimming is needed at the ceiling or along one side.
For a full-height wall, it is usually better to trim at the bottom where the skirting or floor line will make small variations less noticeable. Measure the required cut twice, mark it clearly and cut slowly. A neat first panel sets the standard for the entire installation.
3. Fix the panel securely
For adhesive fitting, apply consistent beads to the back of the felt, keeping clear of the very outer edges to prevent squeeze-out. Press the panel onto the wall, align it with your guide line and use even pressure from top to bottom.
For batten fitting, position the panel and screw through the felt into each batten. Keep the screws in the dark felt channels, rather than through the visible veneer slats. Check the panel remains level before fully tightening every fixing.
4. Continue panel by panel
Butt the next panel closely against the first. The slats should appear evenly spaced across the join, so look at the wall from a short distance before fixing it permanently. A tiny gap or misalignment becomes more obvious once several panels are in place.
Work across the wall at a steady pace, checking level every two or three panels. Do not force a panel into place if the wall bows slightly. A small adjustment to the edge or backing is better than carrying an uneven line through the rest of the installation.
5. Cut the final panel to size
The final panel is often the one that needs trimming widthways. Measure the gap at the top, middle and bottom because walls can taper. Use the smallest measurement as your guide, then test-fit before applying adhesive or adding screws.
When cutting along the length of a panel, plan the cut so it lands through the felt or at a sensible point in the slat pattern. A fine-tooth blade helps reduce chipping on the visible surface. If you are unsure, practise on an offcut first.
Neat Details Around Sockets, Corners and Edges
The finishing details are where a DIY feature wall starts to look professionally fitted. Take your time here.
For sockets and switches, turn off the power at the consumer unit before removing faceplates. Mark the opening carefully from the back of the panel, cut it slightly smaller than needed and widen it gradually for a close fit. Electrical boxes may need to be brought forward with suitable extension collars so the faceplate sits correctly over the panel depth. If there is any doubt, use a qualified electrician.
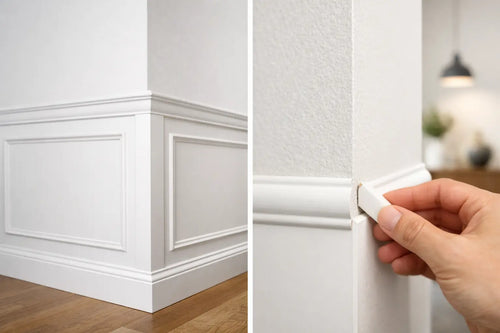
External corners can be finished by bringing one panel up to the edge and trimming the return panel precisely to meet it. For a softer, framed look, use matching edge trims where available. Around ceilings, skirting boards and door frames, a consistent small gap can look cleaner than trying to force panels tightly into an uneven line.
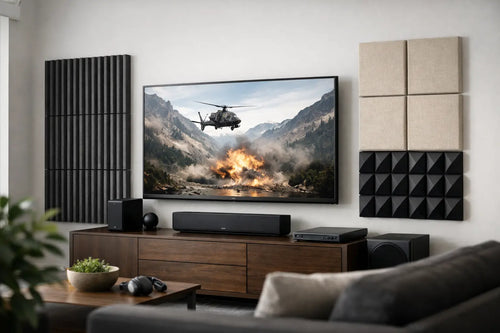
If your acoustic wall sits behind a wall-mounted TV, plan cable routes before fitting. A battened installation makes it easier to conceal cables, but do not bury connections that need future access. Keep heat and ventilation requirements in mind for televisions, fireplaces and media equipment.
Will Acoustic Panels Soundproof a Room?
Acoustic slatted panels can reduce echo and soften the harshness of sound within a room, especially in spaces with hard floors, large windows and minimal soft furnishings. They are a strong choice for making a living room, office or bedroom feel calmer and more comfortable.
They do not, on their own, stop noise travelling through walls, floors or ceilings. True soundproofing usually requires a more complete construction approach, such as decoupling, added mass, sealed gaps and specialist insulation. If your main issue is hearing neighbours through a party wall, it is worth seeking advice on a dedicated soundproofing system.
For most home projects, the visual transformation is the immediate win, with improved room acoustics as a welcome extra. Combine panels with rugs, curtains and upholstered furniture for a noticeably softer sound.
Give Yourself Time for a Better Finish
Installing acoustic panels is not difficult, but rushing the measuring stage is the fastest way to lose the polished look. Lay out your plan, start from a level line and treat the final edges as part of the design rather than an afterthought.
Home Hub Direct panels are designed to make premium feature walls feel achievable at home. With the right preparation and a careful first panel, you can create a space that feels warmer, quieter and far more considered - without the mess or disruption of a major renovation.